Showing posts with label card. Show all posts

Monday, June 18, 2012

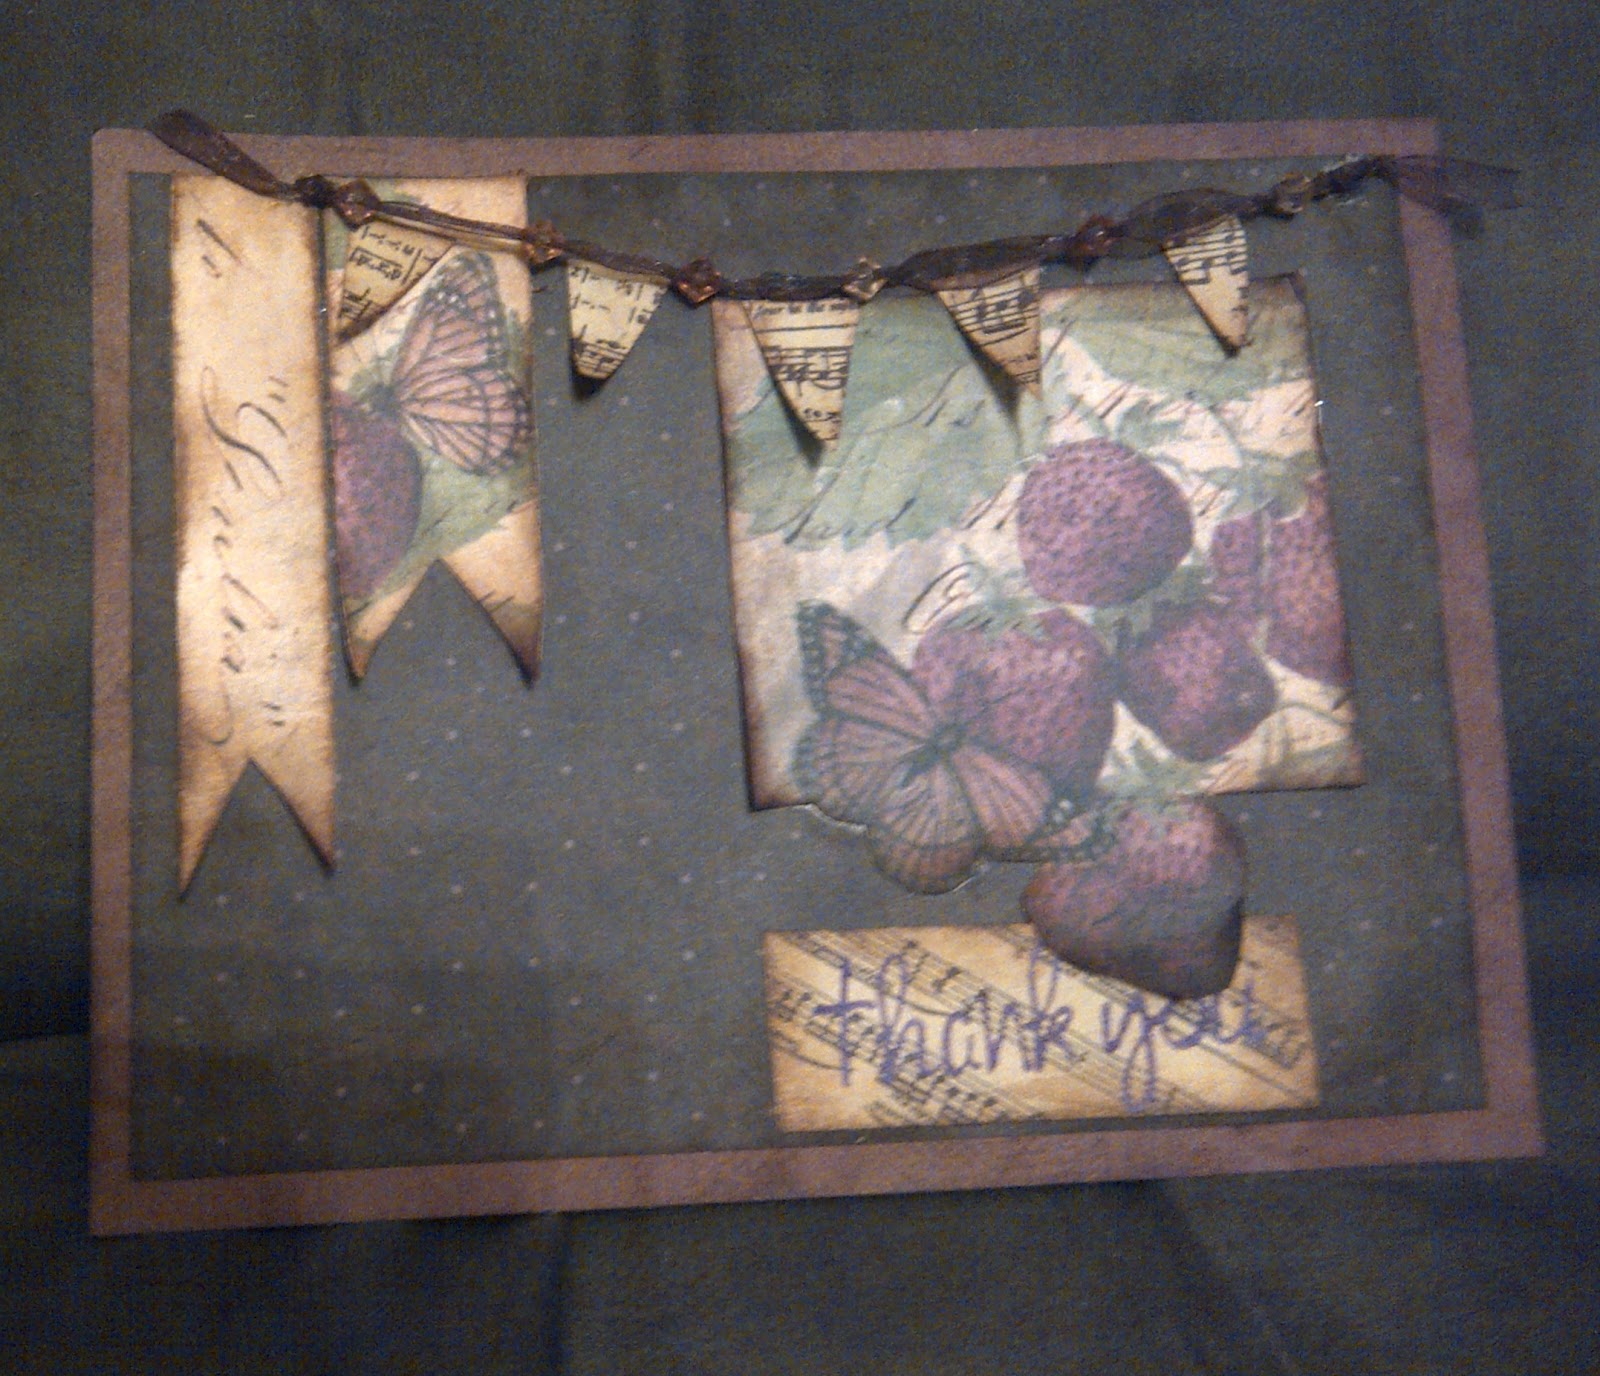
Tsunamirose Vintage Shop Design Team sketch #15


I am loving her sketches and I am stretching my creativity by making my style work with the "puzzle" of these sketches. I have learned a lot of new placement opportunities, i would have never thought to do. I hope you love it.  I dont work with purple very often, but I couldn't resist this pattern!  Strawberries and butterflies!  So summery and vintage, Oh MY!
Please visit her shop for her sketches and beautiful papers! http://www.zibbet.com/tsunamirose


Saturday, June 9, 2012

Design Team for Tsunami Rose Vintage Shop

Sketch #27


Can you believe it, blogged in time!  Im getting it!  I really had a great time creating this sketch.  I used my initial instead of a sentiment, I have been wanting to use these stamps forever and finally had a chance on this design, making this a note card instead of a greeting card, I would love to have the time to make about 4 of these,  Id love to have a set for myself

Please visit her shop for her sketches and beautiful papers! http://www.zibbet.com/tsunamirose
Thanks a bunch for visiting, hope your inspired, leave a comment :)

Tsunamirose Vintage Shop Design Team sketch #22 and 2

Tsunamirose Vintage Shop's  Sketches: 

Sketch #22


Sketch #2

Vintage and pearl, it can happen
I know, I know, I got behind posting them, I will try to do better!!!  :)     They were done, just not blogged!
Anyway!   You are welcome to visit and look around at her sweet shop, check out her sketches and beautiful papers! http://www.zibbet.com/tsunamirose

Tuesday, June 5, 2012

Tsunamirose Vintage Shop Design Team sketch 13


Todays sketch card for Tsunami Roses Vintage Shops Design Team, quite honestly, I am truly surprised at the things this adventure has pulled out of me! These papers coordinate so well with most of the stuff I have already hoarded all this time and gives me a reason to actually cut *shiver* into my cherished papers! Please visit her shop for her sketches and beautiful papers! http://www.zibbet.com/tsunamirose

Monday, June 4, 2012

Design Team for Tsunami Rose Vintage Shop Sketch #28

Design Team for Tsunami Rose Vintage Shop  Sketch #28

This is my third card for Tsunami Roses Vintage Shops Design Team, quite honestly,  I am truly surprised at the things this adventure has pulled out of me!  These papers coordinate so well with most of the stuff I have already hoarded all this time and gives me a reason to actually cut *shiver*  into my cherished papers!  Please visit her shop for her sketches and beautiful papers!    http://www.zibbet.com/tsunamirose

Sunday, May 13, 2012

Teacher appreciation, 2 minute cards


yellow zigzag trim
Circle 1 1/2 in Punch
hand cut leaves and stem
Tim Holtz picket fence distress pin
Jelly roll white for letters on chalk board
card stock, printed and black for chalk board
corner rounder punch
foam dots

I cut these apples by starting with a circle and nicked a bit off the middle of the bottom and top added a stem and just hand cut the leaves,

Surprising Technique! My Mothers Day Cards

I ran a hard a regular dress form chipboard cut under card stock through my Big Shot, the same way you would use a spellbinder, this was the result, a few tares, as expected, but beautiful none the less!  I trimmed around them and added a few embellishments.  


Lace Stickles
Gold Stickles
Distress Stickles Peeled Paint
Crackle Glassy Accents
small and med size butterfly punch
My minds Eye background papers
Actual vintage music distressed with Tim Holtz distress inks
Prima Pearls  Prima crystals
K and co sticker (shell) crochet flowers
Martha Stewart border punch
Prima Flowers turned over (white) stamped with Prima script
pearl spray from bridal section of Hobby Lobby
hand cut and Tim holtz Peeled paint distressed leaves, and Martha Stewart Rose leaf punch
dress form chipboard die cut

Saturday, March 31, 2012

Easter Bunny Hop Day 2


***winner***winner***winner***
Misstamper, you are the Blog Candy winner!!! Im sending an email now! Please respond within a week or I will have to pick a new winner.


Card and tag:
Cosmo Cricket Fleuriste Paper
buttons, burlap cuts, jute, hand cut leaves, brads, lace bows
Forever Young Cricut cartridge for flowers
CTMH stamp frames (Sweet Moments) around Bunny stamp (Studio G)
Many different colors of Tim Holtz Distress inks
Lattice ribbon on the card is salvages from clothes I upcycled :) for the material

See yesterdays post for basket
Blog Candy: I will choose a winner Monday! You must be a follower and leave a comment on every hop stop to qualify.


Saturday, March 17, 2012

Scraps2Treasure 3D Blog Hop


*****WINNER******   Tina!!!!!

Welcome to the 3D Blog Hop this hop is going to have projects that are all 3D. To be eligible for the grand prize drawing you must leave a comment for everyone and become a follower. The grand prize winner will be announced one week after the hop closes so that everything can be checked.


 My Pot of Gold did not flow as expected, My cricut was not happy about making this cut, I had to update before getting it cut, I was not happy either, The cut is from Simply Charmed cart, cut twice, I hid the small cuts on my Gypsy, after cutting, I cut the top strait across, added more paper to make it box-like, added some gold pieces, adhered some to the front, and some on back, scored the card stock twice, cut 2 slots in the middle of the spine then turned them inward, where I attached the pot to make it Pop up. I added some Prima flowers, and bling then stamped my sentiments with Martha Stewart letters and Unity Stamps

The finger Prints on the pot were from my 2yr olds greasy Pizza fingers, I think it adds a little sometking LOL, she just thought it was pretty!


My Blog Candy~~~Must like and comment on all Blogs throughout the hop and I will pick a winner Monday


Here is a list of all the crafty bloggers....

Monica - http://scraps2treasure.blogspot.com/

Kristy - http://scraptasticalkreations.blogspot.com

Haidee-http://created2bunique.blogspot.com/

Tanya- http://ScrappyScavenger.blogspot.com

Jamie - http://scrapqueen141.blogspot.com/

Stephanie: http://www.whimsical-designs.com/

Anita http://www.anitaandbugs.blogspot.com

Yvette http://gammascreativecorner.blogspot.com/

Jearise - http://lorbysworld.blogspot.com

Dena - http://missdjones.blogspot.com/

Jessica - http://thecrafterscottage.blogspot.com

Lisa P. - http://handmadewithlove-lisa.blogspot.com/

Erica- http://mycricutcraftroom.blogspot.com

Sunday, May 8, 2011

Jen's Mother's Day Blog Hop

***WINNER***WINNER***WINNER***


The winner of My blog candy~
Kathy who said~
Beautiful card and gift! My mother has given me lots of "advice" over the years, and is great about being there to listen and not be too pushy with her opinions. She always tells me to be sure to take care of myself so that I'll be there to take care of my kids. This is something that I often forget to do.
Thanks for sharing!


If you got here from Debbie, your right on track, If you just dropped in, start at  Jen's or your going to miss out on some beautiful inspiring projects!  We would not want that to happen now would we?


Back view


Candle from Dollar Tree
Pearl Yellow Lace Butterflies from Momenta
Silk sheer wide ribbon, and thin Martha Stewart ribbon, Cut a butterfly from the sheet, added pearls and a stick pen, also handmade by me.

Card
White card stock letters (Heidi Grace)
Nikki Sivils brad
stick pen, made by me
Sheet cut down from Pearl Yellow Lace Butterflies from Momenta
Clear contact paper
Bone Folder
Paper Trimmer
Zig 2way pin
Martha Stewart fine glitter (Rose Quarts)
Earring back


Blog candy Question:  What is the best advise you have been given from your Mother or person of equal stature in your lifetime?
Cut down your butterfly paper to as close to the shape and size of your card as possible without going over.
Cut contact paper to close to the size and sit your butterfly lace paper on it covering pearly side w the sticky side. press down to make flush all over, add it to your card before scoring.
use your bone folder to press it all down firmly.  Use your  paper trimmer to clean up the edges. The contact paper will not stick through the holes if it bothers you (it did me)  you are going to have to go over them all with your bone folder, like using a Xyron.  I attached my ribbon used my glue pin on the letters,and added the glitter, pop dotted them and added the rest of the embellishments!

So today I gave My Mother, this card and candle set along with the kitchen min ialbum. She almost cried!  Im so glad she loved them!


Blog Candy you ask:  Of Course:  Just make sure your a follower, and leave your answer to the question asked above in your comment!


Leafy Branch Cuttlebug Folder
If you dont have an embossing machine, please see my post how to dry emboss without a machine!

I will pick a winner using Random.Org  Friday May 12.  If not claimed in 1 weeks time, I will be forced to pick another winner  : (    United States Only (shipping cost)


Now your off to Linda  for more beautiful inspiration!
Wednesday, April 6, 2011

Thank you card for Anita

Thanks Friend


Heidi Grace paper double sided Luster Card stoorever Love/Happily Ever After
Martha Stewart Yellow ribbon
Olive silk ribbon
crate paper free cut leaves
inked with Martha Stewart Bronze pigment
Black sparkle toole
Martha Stewart embossing
Background paper and paper behind sentiment Best Occasions
The stamps are, outside is Martha Stewart, Inside is the middle part of an SEI stamp
Whats all the THANKS about:  She sent me a very sweet gift!

Isnt she amazing!!!

Isnt she amazing!!!